Usage Examples
This page features examples of how LayerFX can be used to create a variety of beautiful effects in production-ready projects.
These effects can be made by combining different material stacks, render modes, and layer content within a scene.
Quick legend
- Hidden Camera: Isolates selected layers while preserving URP lighting and post-processing.
- Renderer List: Renders selected layers through the fastest path, but with additional limitations.
- From External Texture: Renders a camera to a Render Texture and imports that texture into LayerFX.
Isolated Blur
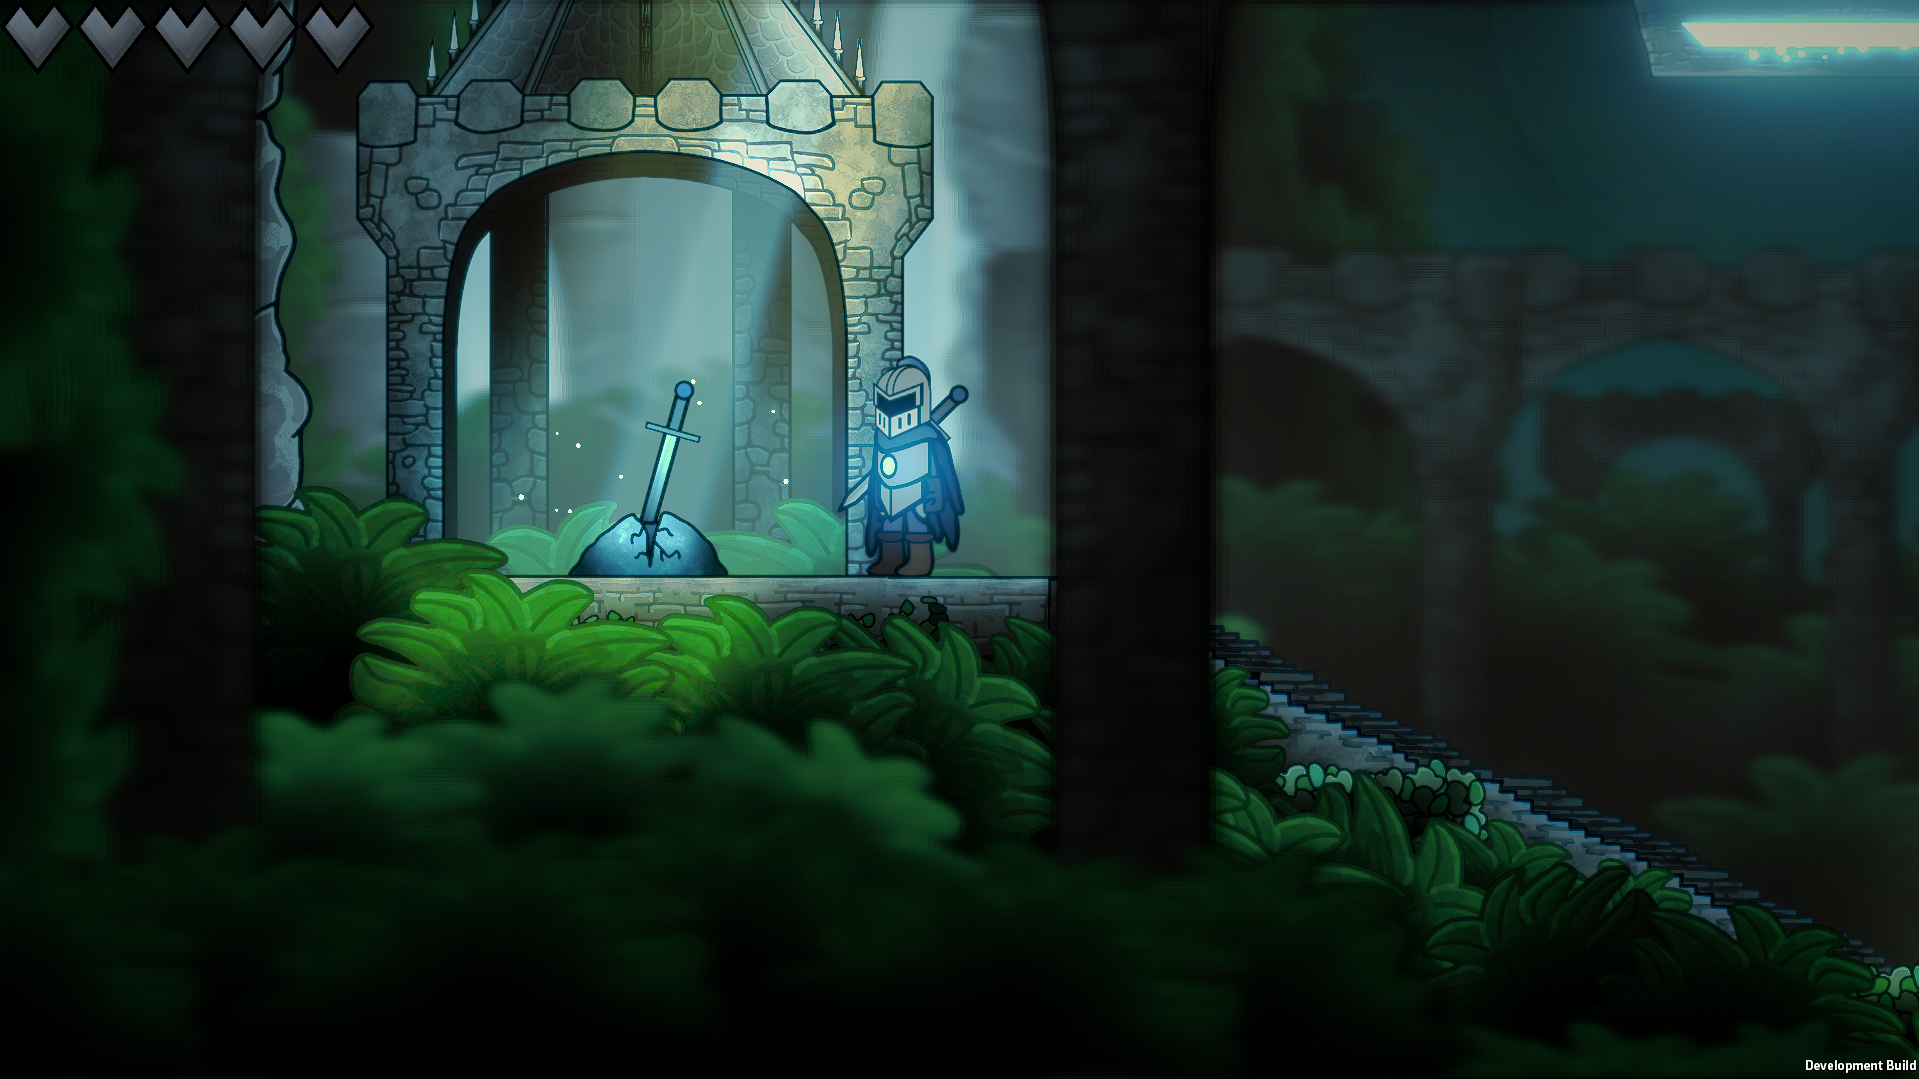
Blur the foreground and background while keeping gameplay elements perfectly sharp. This is difficult to do with URP depth-of-field, especially in 2D projects where there is no real depth.
Setup
Recommended Rendering Mode: Hidden Camera
Alternative: Renderer List (when lighting and shadows are not required)
- Add one, two, or more LayerFX Render Features to your 2D Renderer.
- Set each Render Feature to the Hidden Camera rendering mode.
- On each render feature, select a subset of layers. For example, select your foreground layers on one render feature and your background layers on another.
- Add any valid material to the render features. For isolated blur, select a blur material. If you are using the included Gaussian blur shader, add two materials to the stack: the Horizontal Blur Pass material and the Vertical Blur Pass material.
This effect can make your scene much more readable, and give it a softer look.
The possibilities also extend far beyond blur. The same isolation technique can be used for distortion, outlines, cinematic color effects, shockwaves, and other custom fullscreen shader workflows.
Isolated Post-Processing
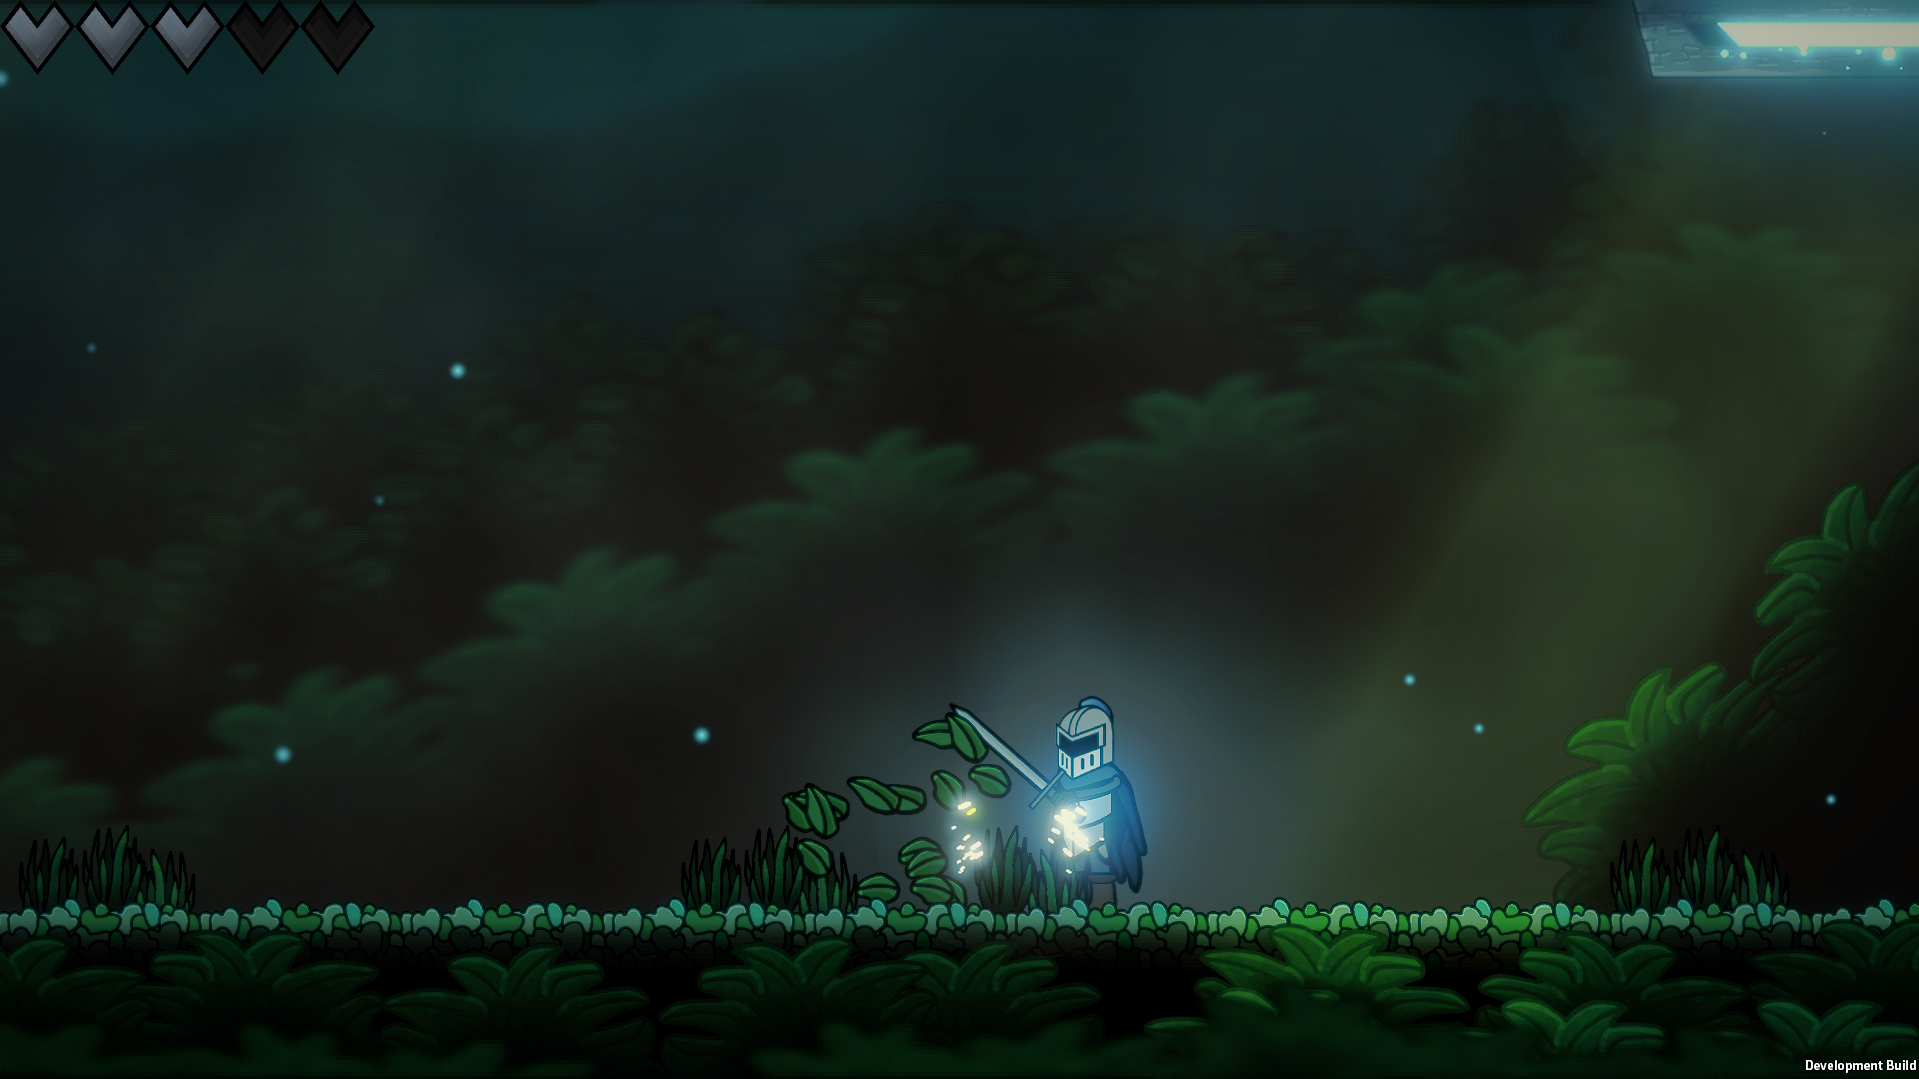
LayerFX can be used to isolate URP post-processing effects.
This is one of LayerFX's most powerful workflows because it allows built-in URP post-processing to affect only selected layers instead of the entire screen.
The above image demonstrates an isolated Bloom effect on the player's energy bar and the spark particles. Isolating URP post-processing can also create effects such as selective depth-of-field, selective color grading, and more.
Setup
Recommended Rendering Mode: From External Texture
- Add a LayerFX Render Feature to the 2D Renderer and select the From External Texture rendering mode.
- Create a secondary camera in your scene, rendering to a custom Render Texture.
- Input this texture into the Texture field on the LayerFX Render Feature.
- On the camera, set the Volume Mask to contain a layer with a post-processing volume containing your desired effects.
LayerFX will then blit the texture to the screen, making selective post-processing simple.
This method can also be combined with the LayerFX material stacking feature, allowing you to easily combine URP post-processing with custom materials.
Water Distortion and Reflections
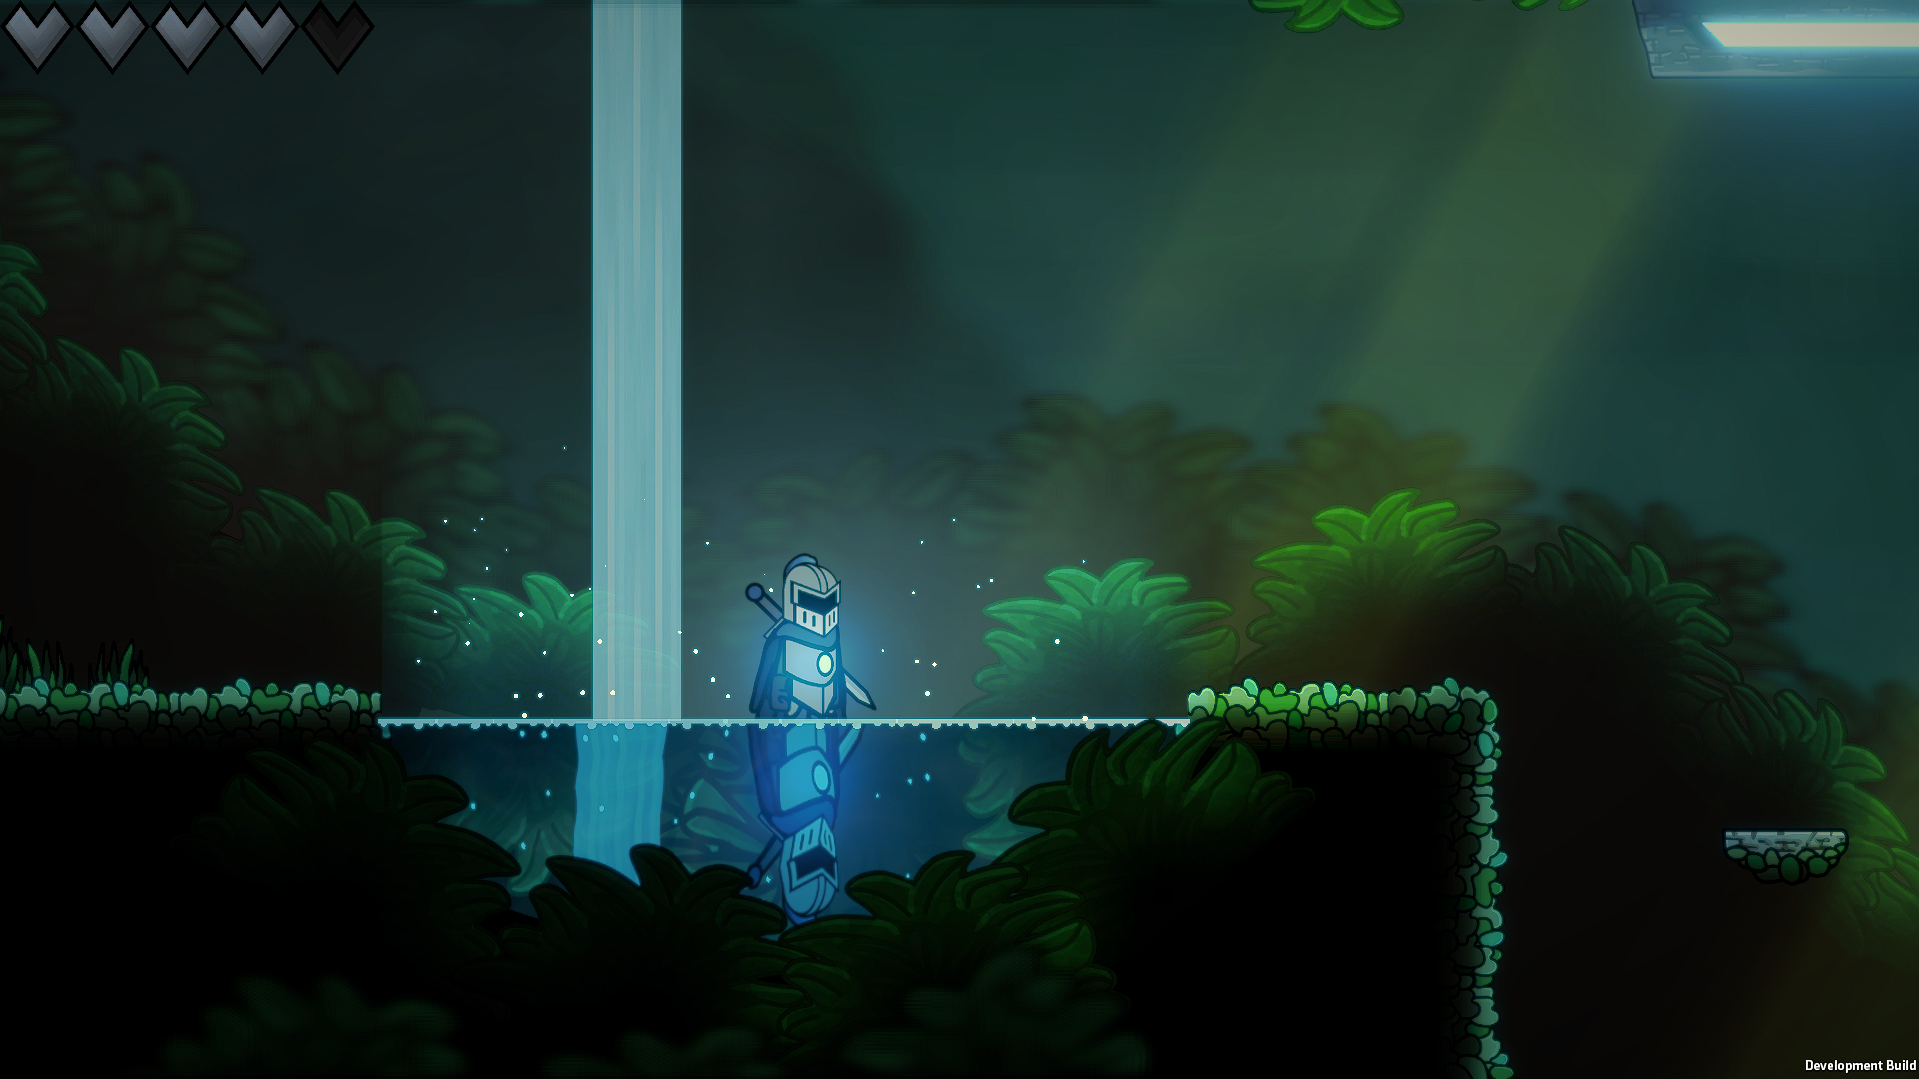
LayerFX can be used to create beautiful 2D water, with effects like distortion and reflection.
Setup
Recommended Rendering Mode: From External Texture
- Add a LayerFX Render Feature to the 2D Renderer using the From External Texture rendering mode.
- Create an additional scene camera that renders your player and other sprites you want reflected.
- Set the output of this camera to a Render Texture and input the texture to the LayerFX Render Feature.
- Use the LayerFX material stack to apply water materials, such as distortion, refraction, and vertically flipping the sampled texture within the shader to create reflections.
Shockwaves
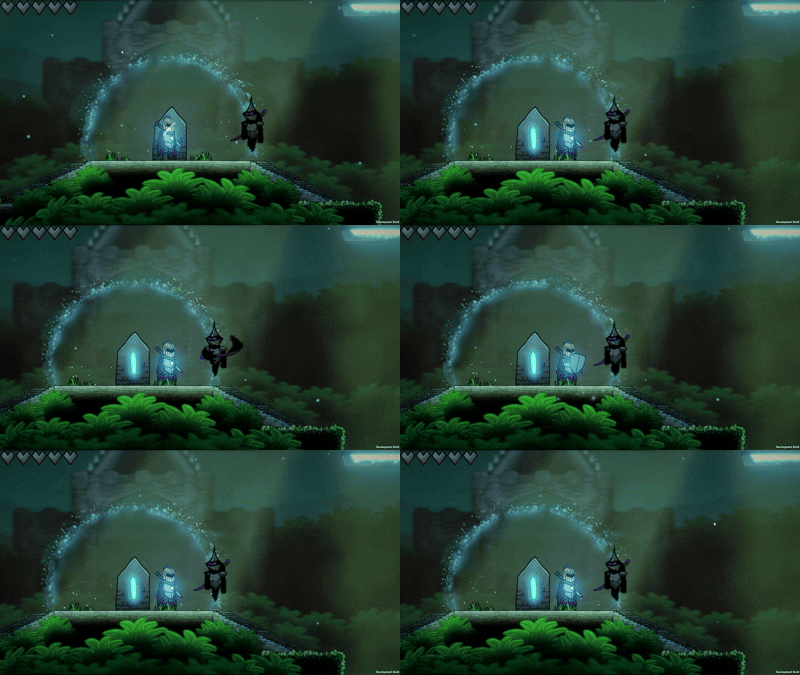
LayerFX can be used to create dynamic effects such as fullscreen shockwaves. Effects can be animated through code, using Coroutines, Update loops, or function triggers from the Animation Timeline.
Setup
Recommended Rendering Mode: Hidden Camera
- Add a LayerFX Render Feature to your 2D Renderer using the Hidden Camera rendering mode.
- Select the layers you want the shockwave to distort.
- Use the LayerFX Material field to apply the included shockwave sample material or your own custom shader.
- Use code to animate the material to create dynamic shockwaves or other effects.
The following code is an example Coroutine used to animate the included shockwave material.
    private IEnumerator ShockwaveCoroutine()
    {
        float distanceFromCenter = -0.1f;

        while (distanceFromCenter < 1f)
        {
            distanceFromCenter += Time.deltaTime * speed;

            /* _WaveDistanceFromCenter controls how far from the center of the shockwave
            the distortion ring appears in the included shockwave material. */
            shockwaveMaterial.SetFloat("_WaveDistanceFromCenter", distanceFromCenter);

            yield return null;
        }
    }
3D Effects
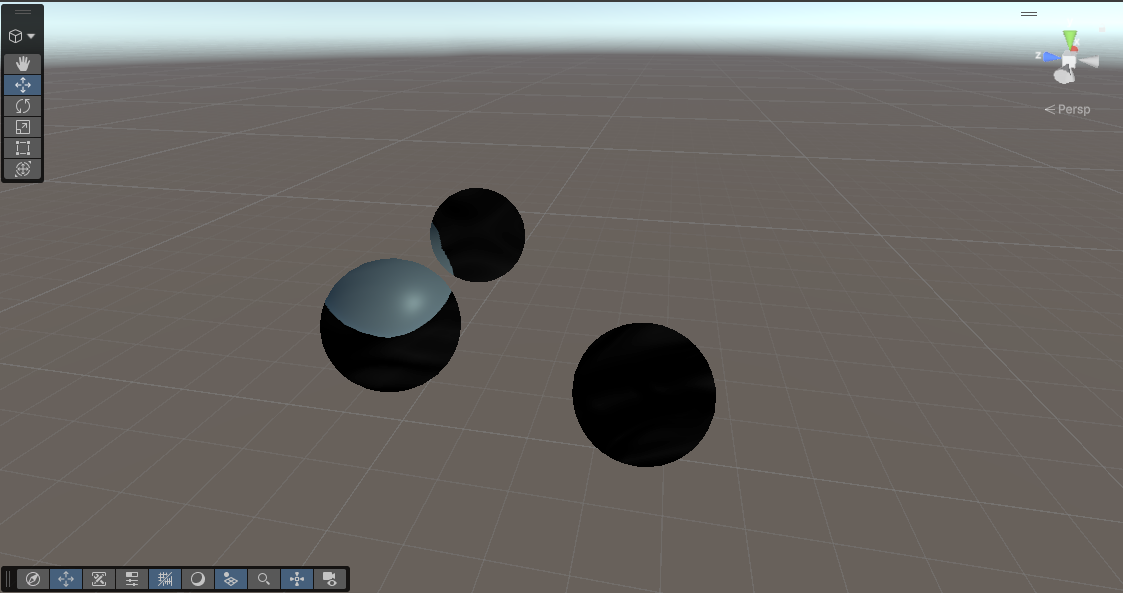
While LayerFX is primarily designed with 2D projects in mind, the versatile nature of Render Graph allows it to be compatible with 3D projects as well.
Simple 3D effects are easy to create with LayerFX. Fullscreen shockwaves, blur, distortion, and other fullscreen material effects are compatible with 3D projects, though visual quality may vary depending on the scene setup.
LayerFX is officially supported for URP projects. The 3D examples are provided as compatibility demonstrations rather than dedicated 3D workflows.